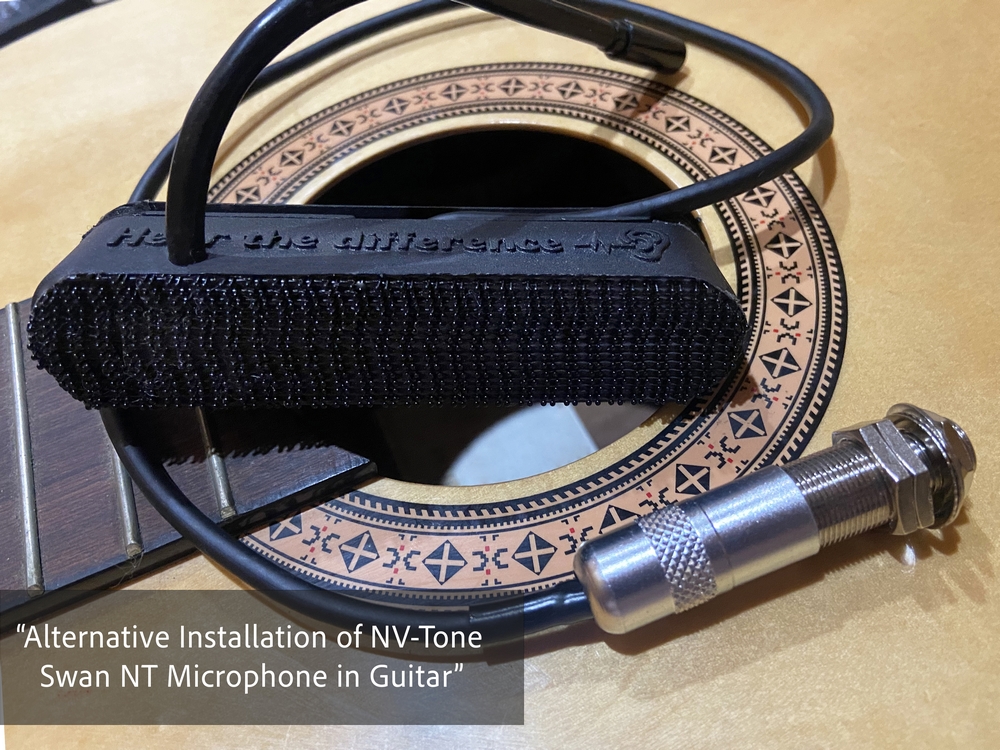
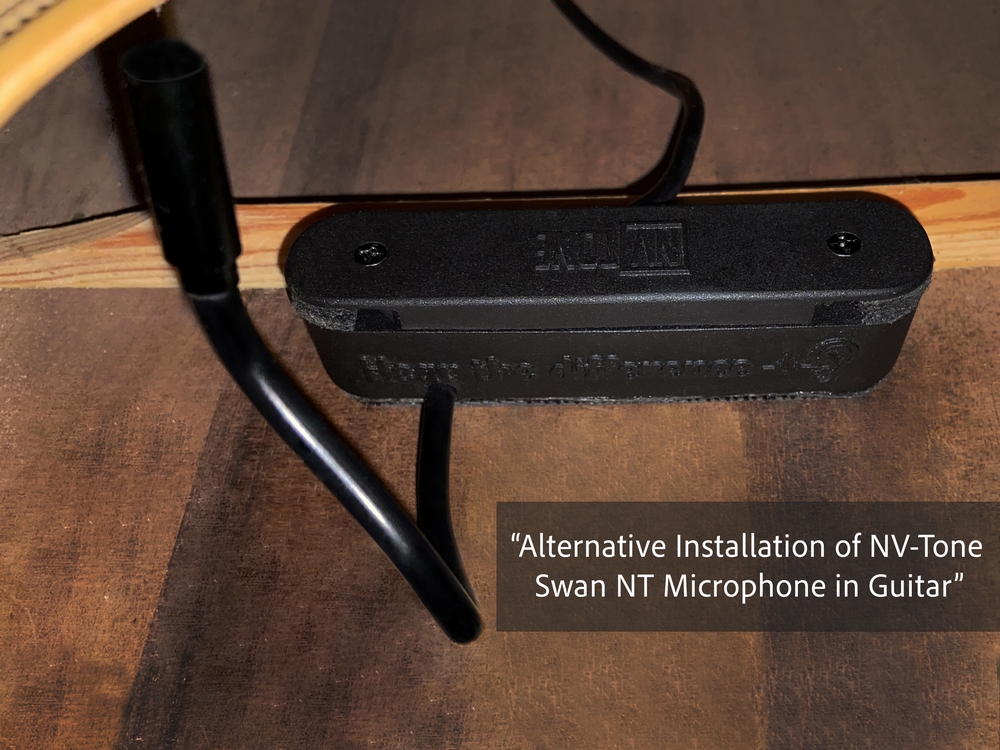
Using 3M Dual Lock SJ3540 for Mounting a Microphone Inside a Guitar
3M Dual Lock SJ3540 is a reliable and convenient solution, provided a few important conditions are met.
Advantages of this method:
✔️ Strong fixation — Dual Lock holds the load much better than regular Velcro. It is rated for over 1 kg per 6.5 cm². With a tape length of 10 cm and width of 1.6 cm (area ~16 cm²), it can easily support our 150g microphone mount.
✔️ No drilling — No need to drill holes in the guitar body.
✔️ Vibration absorption — The dense structure of the fastener helps reduce unwanted vibrations, improving microphone performance.
✔️ Removable mount — The microphone can be easily attached and removed when needed.
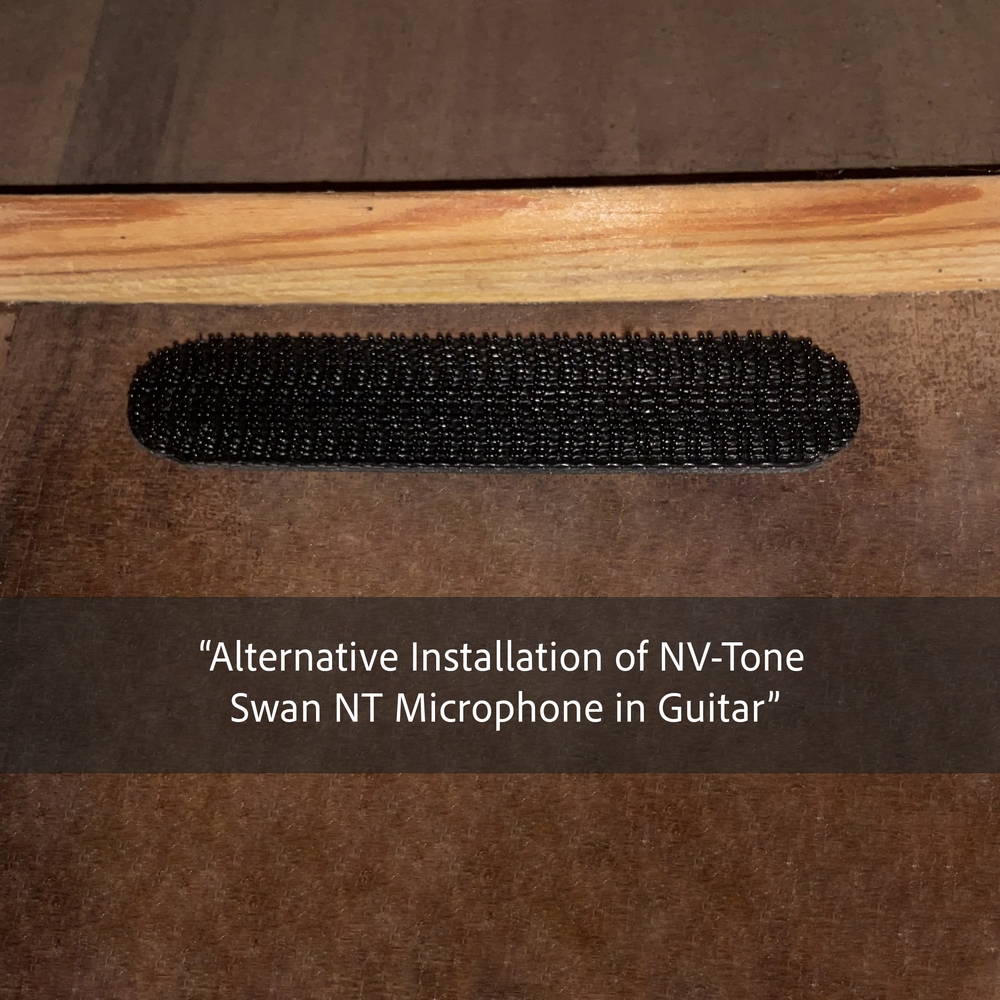
Recommendations for a secure attachment:
1. Remove any rough surfaces and dust, and degrease the inside of the guitar (use special sprays for musical instruments or dedicated wipes).
2. Apply the 3M Dual Lock tape.
Allow the adhesive to set — it is recommended to wait 24 hours after applying the Dual Lock before installing the microphone to ensure optimal adhesion.
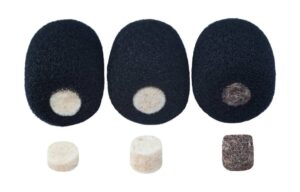
NV TONE Natural Tone Filter System